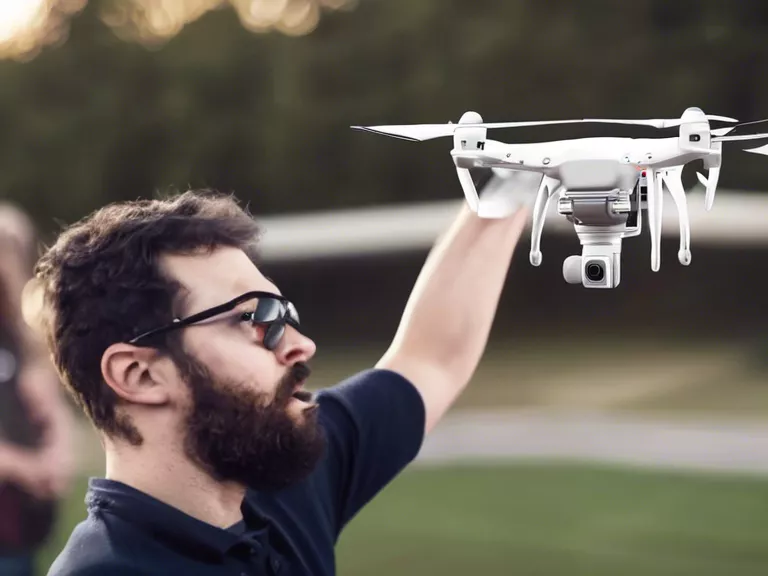
How to Program Basic Commands for DIY Robotics Projects
Creating your own DIY robotics project can be a rewarding and educational experience. One of the key components of any robotics project is programming. In this article, we will explore how to program basic commands for your DIY robotics projects.
Step 1: Choose a Programming Language
Before you start coding, you need to choose a programming language for your robotics project. Some popular options include Python, Arduino, and C/C++. Make sure to pick a language that is compatible with your robot's hardware and your own skill level.
Step 2: Learn the Basics
Once you have selected a programming language, it's time to familiarize yourself with the basics. Learn about variables, loops, conditionals, and functions. These fundamental concepts will form the building blocks of your robot's code.
Step 3: Write Your First Program
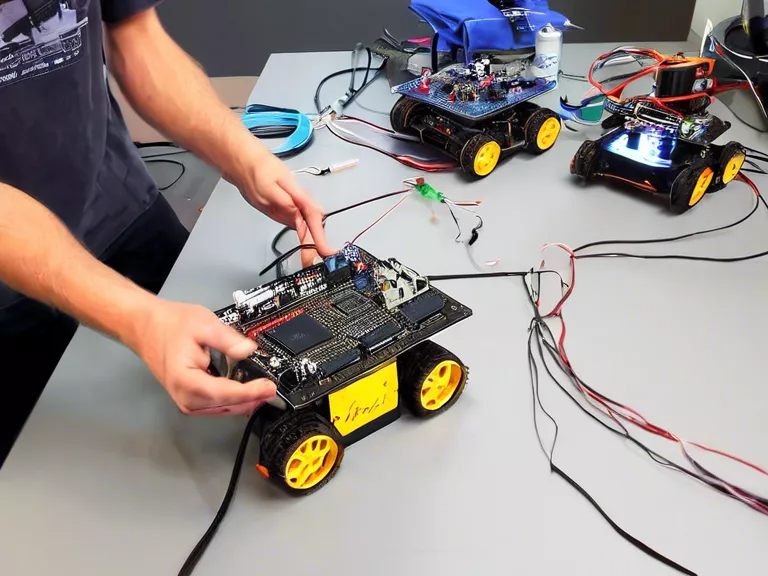
Start by writing a simple program that moves your robot forward for a certain distance or turns it in a specific direction. Use your programming language's syntax to control the motors or servos of your robot. Test your program and make any necessary adjustments.
Step 4: Add Sensors and Logic
To make your robotics project more advanced, consider adding sensors such as ultrasonic sensors or infrared sensors. Use these sensors to create logic in your program, such as avoiding obstacles or following a line.
Step 5: Refine and Experiment
Once you have mastered the basics, continue to refine your code and experiment with new features. Consider implementing remote control capabilities, autonomous behavior, or even speech recognition.
By following these steps and practicing your programming skills, you can create impressive DIY robotics projects that are both functional and fun. Remember to document your code and share your creations with the robotics community.